I’m laid up in the hospital right now with a broken femur (skydiving accident) and I’m trying to teach myself a little Roblox development. Roblox’s website has tons of great resources, but I don’t think it’s all that well organized. So I just wanted to write this really quick blog post to jot down the links that I have for getting started with Roblox development. Here are my links so far (will update as I learn more):
Roblox Docs (Use Slide Out Hamburger Menu): https://create.roblox.com/docs
And last, there is “Introduction to Scripting.” This is the best part of the docs in my opinion for learning how to build real Roblox games that use code. I had a hard time rediscovering this section, but here’s the link: https://create.roblox.com/docs/tutorials/scripting/basic-scripting/intro-to-scripting
SuperInvest does not collect any user information. However, in the future we will track certain events users take in order to gain insights into our product and make improvements for user experience. All data will be anonymized.
This is is going to be a super short post that I’m really just writing for my own personal reference. The old guides that I used to use to setup my linux virtual machines for my flask apps keep giving me problems, so the purpose of this post is to jot down how to do this in the future the next time I need to do this.
What I like about this particular blog post is it skips all of the complicated pain in the @$$ steps like setting up non-root users and whatnot. I think using root is fine for small projects.
Last, the most critical thing is to make sure you install gunicorn into your virtual environment. When you do this, make sure to set the –ignore-installed flag so that gunicorn gets installed into the virtual environment. I believe this is the missing step from the previous guides I used to use which kept causing my setups to fail.
(venv) $ pip install --ignore-installed gunicorn
If you are installing from requirements.txt, also make sure to set the –ignore-installed flag so that gunicorn gets installed into your virtual environment instead of somewhere else:
Switching betweent different versions of cocoapods, I’ve been having to do this a lot at work recently. We have two branches of our codebase which are using different versions of cocoapods. At some point the all of the branches will end up using the same version of cocoapods, but at the moment one branch does not include the work which upgraded to the latest version of cocoapods. So if you find yourself in a similar situation, here’s all you have to do in order to switch between different versions.
First, uninstall cocoapods (the version which you don’t want to be using):
$ sudo gem uninstall cocoapods
Then, install the version you want to be using :
$ sudo gem install cocoapods -v 1.11.3
Feel free to switch back and forth between versions as needed.
Having trouble with merge conflicts in your React Native app with Pods, package-lock.json, yarn.lock, and project.pbxproj? I have the solution you’re looking for. These types of conflicts usually arise in React Native apps when one or both branches of code have installed a new node_module which uses native code, and then all sorts of conflicts will start to pop up in the Pods directory and project.pbxproj when you go to merge. The solution to fix these conflicts is to run $ pod deintegrate in both of your branches before doing your merge. This will take care of the majority of conflicts which tend to arise.
Then you’ll probably still have a few conflicts in package-lock.json, yarn.lock, and Podfile.lock. To fix the conflicts in package-lock.json or yarn.lock, you’ll want to checkout either branches package-lock.json or yarn.lock: $ git checkout name-of-your-branch — yarn.lock
For Podfile.lock, simply delete this file.
If there are any other conflicts which require manual resolution, go ahead and fix those. Then last, run $ pod install and then either $ npm install or $ yarn install. And boom! You’re back in business; merge conflicts resolved.
If you want to see every single terminal command from start to finish, please reference the 20 minute video above. Sometimes it’s hard to jot down every single step when it comes to doing something like this, so I find its helpful to just film everything for reference in case someone gets stuck on a particular step.
Quick blog post today that I’m writing during work on how to pass an array of arguments in JavaScript. This is something that I actually need to do today and well… I didn’t know how to do it 5 minutes ago! So without further ado… here’s how:
You can use JavaScript’s built-in Function.prototype.apply() method to pass an array of arguments. If you need to do this, check out this example–
This file contains hidden or bidirectional Unicode text that may be interpreted or compiled differently than what appears below. To review, open the file in an editor that reveals hidden Unicode characters.
Learn more about bidirectional Unicode characters
My friend Sameer and I are currently working on our first Web3 project together, and we’re trying to learn how to use Solana. So far it’s been kind of complicated and a bit of a pain, so I just wanted to jot down a few notes here in this blog post for future reference. Mainly, I want to record my notes on getting to “hello, world” in Solana using Rust & Web3.js.
So far I haven’t found a great tutorial yet, however, there’s an okay course called recommended by the Solana team called Solana 101 that my friend and I both just took, and I think it has most of the basic building blocks you’ll need to get started with Solana programming.
If you’d like to take the Solana 101 course yourself, you can do that here: Solana 101
I believe the course used to be something you could take on Figment’s website, but now it’s simply a Github repo that you download. After you download the repo you an follow the instructions in the README to launch the course in your web browser running off of a local web server running on your machine.
Now for the real meat of what I wanted to post here… The course above has like 12 different lessons all featuring a code snippet demonstrating how to do some basic operation in Solana. However, the course isn’t hosted on the internet anymore! If you want to reference it or take it again, you have to spin your local web server up again to read the code snippets. So I decided that I really wanted to have a copy of all the code snippets up on the web that I could reference when needed. So without further ado, the 12 essential code snippets from Figment’s Solana 101 Course:
Solana 101: Connect to Solana (From Figment.io’s Solana 101 Course)
This file contains hidden or bidirectional Unicode text that may be interpreted or compiled differently than what appears below. To review, open the file in an editor that reveals hidden Unicode characters.
Learn more about bidirectional Unicode characters
This file contains hidden or bidirectional Unicode text that may be interpreted or compiled differently than what appears below. To review, open the file in an editor that reveals hidden Unicode characters.
Learn more about bidirectional Unicode characters
Solana 101: Funding Your Solana Account via Airdrop (From Figment.io’s Solana 101 Course)
This file contains hidden or bidirectional Unicode text that may be interpreted or compiled differently than what appears below. To review, open the file in an editor that reveals hidden Unicode characters.
Learn more about bidirectional Unicode characters
Solana 101: Getting Your Balance (From Figment.io’s Solana 101 Course)
This file contains hidden or bidirectional Unicode text that may be interpreted or compiled differently than what appears below. To review, open the file in an editor that reveals hidden Unicode characters.
Learn more about bidirectional Unicode characters
This file contains hidden or bidirectional Unicode text that may be interpreted or compiled differently than what appears below. To review, open the file in an editor that reveals hidden Unicode characters.
Learn more about bidirectional Unicode characters
Solana 101: Deploy Rust Program to Solana Blockchain (from Figment.io’s Solana 101 Course)
This file contains hidden or bidirectional Unicode text that may be interpreted or compiled differently than what appears below. To review, open the file in an editor that reveals hidden Unicode characters.
Learn more about bidirectional Unicode characters
Solana 101: Check Deployed Solana Program from Client (From Figment.io’s Solana 101 Course)
This file contains hidden or bidirectional Unicode text that may be interpreted or compiled differently than what appears below. To review, open the file in an editor that reveals hidden Unicode characters.
Learn more about bidirectional Unicode characters
Solana 101: Storing Data on the Solana Blockchain (From Figment.io’s Solana 101 Course)
This file contains hidden or bidirectional Unicode text that may be interpreted or compiled differently than what appears below. To review, open the file in an editor that reveals hidden Unicode characters.
Learn more about bidirectional Unicode characters
Solana 101: Get Data from Solana Blockchain (From Figment.io’s Solana 101 Course)
This file contains hidden or bidirectional Unicode text that may be interpreted or compiled differently than what appears below. To review, open the file in an editor that reveals hidden Unicode characters.
Learn more about bidirectional Unicode characters
Solana 101: Set Data on Solana Blockchain (From Figment.io’s Solana 101 Course)
This file contains hidden or bidirectional Unicode text that may be interpreted or compiled differently than what appears below. To review, open the file in an editor that reveals hidden Unicode characters.
Learn more about bidirectional Unicode characters
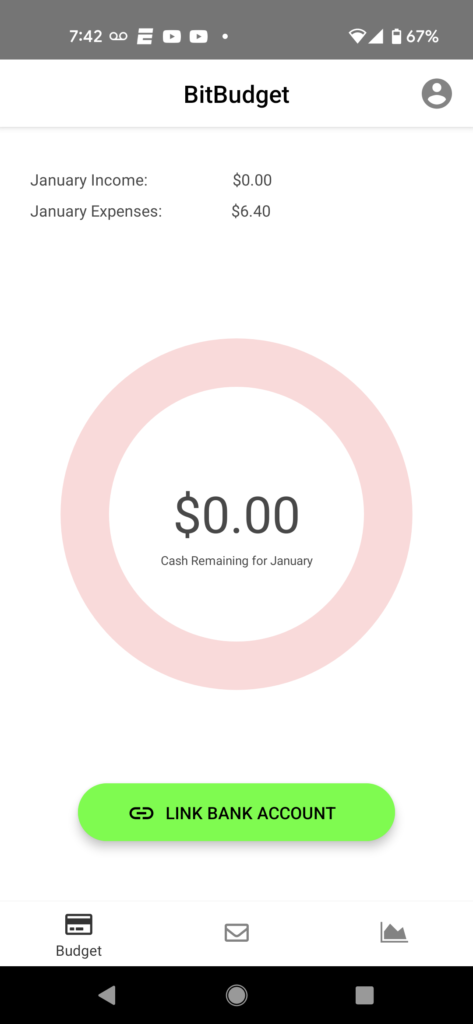
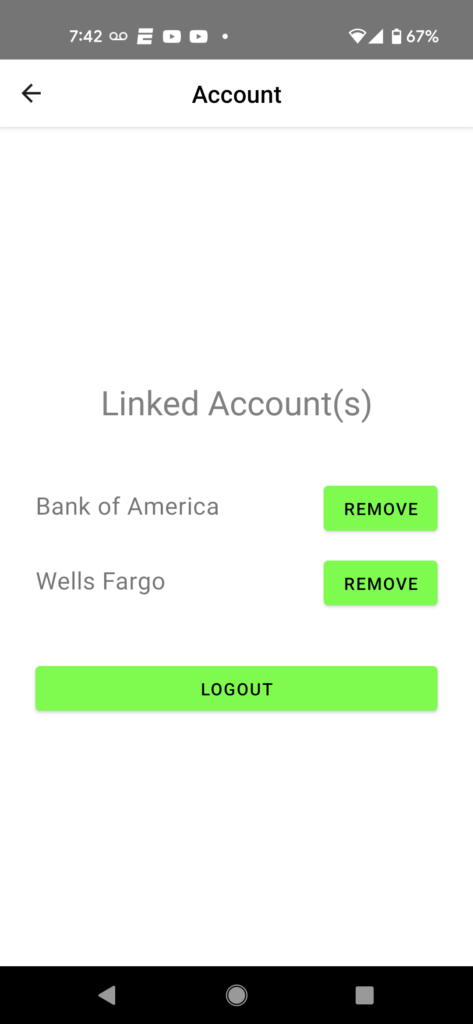
Having issues with your bank account connection to the CacheMoney? To reset your connection simply click the profile button icon in the top right hand corner of our mobile application, then from the settings screen click the REMOVE button next to your bank account connection. To reconnect press the LINK BANK ACCOUNT button on the home screen of the CacheMoney Android app.
Having trouble with your CacheMoney account? You’ve come to the right place! My name is Chris Pedersen, co-founder and developer of CacheMoney Spending Tracker. If you’re having any issues with CacheMoney or our Plaid/OAuth integrations with your bank account please feel free to contact me personally for support.
How long does it take to make money? Ha! It take decades. It’s going to take longer than you would like, but the best time to start was yesterday; the second best time is now. So you may as well start if it’s something you’re thinking about, it’s fine to start working on it now. It may take awhile for it to pay out, but when it does start paying out, you will essentially have.. It’s not that you will make money, but you will have become the kind of person who makes money. And once you’re the kind of person that makes money, and you have some comfort around that, then you essentially have your freedom. So you’re basically going to learn the skills of how to make money. You are going to become a money making machine. And once you’re a money making machine, the goal is that in 10 to 20 years from now, you will get hit with a tsunami of money.