I’m laid up in the hospital right now with a broken femur (skydiving accident) and I’m trying to teach myself a little Roblox development. Roblox’s website has tons of great resources, but I don’t think it’s all that well organized. So I just wanted to write this really quick blog post to jot down the links that I have for getting started with Roblox development. Here are my links so far (will update as I learn more):
Roblox Docs (Use Slide Out Hamburger Menu): https://create.roblox.com/docs
Docs > Engine > Guides: https://create.roblox.com/docs/platform
Docs > Engine > Tutorials: https://create.roblox.com/docs/tutorials
Docs > Engine > Reference: https://create.roblox.com/docs/reference/engine
Docs > Engine > Resources: https://create.roblox.com/docs/samples
Docs > Engine > Art: https://create.roblox.com/docs/art/modeling
Docs > Engine > Design: https://create.roblox.com/docs/production/game-design
Tutorials[Core]: https://create.roblox.com/docs/tutorials/core
Tutorials[Environmental Art]: https://create.roblox.com/docs/tutorials/environmental-art
Docs > Engine > Guides > Coding Fundamentals: https://create.roblox.com/docs/tutorials/fundamentals/coding-1/coding-fundamentals
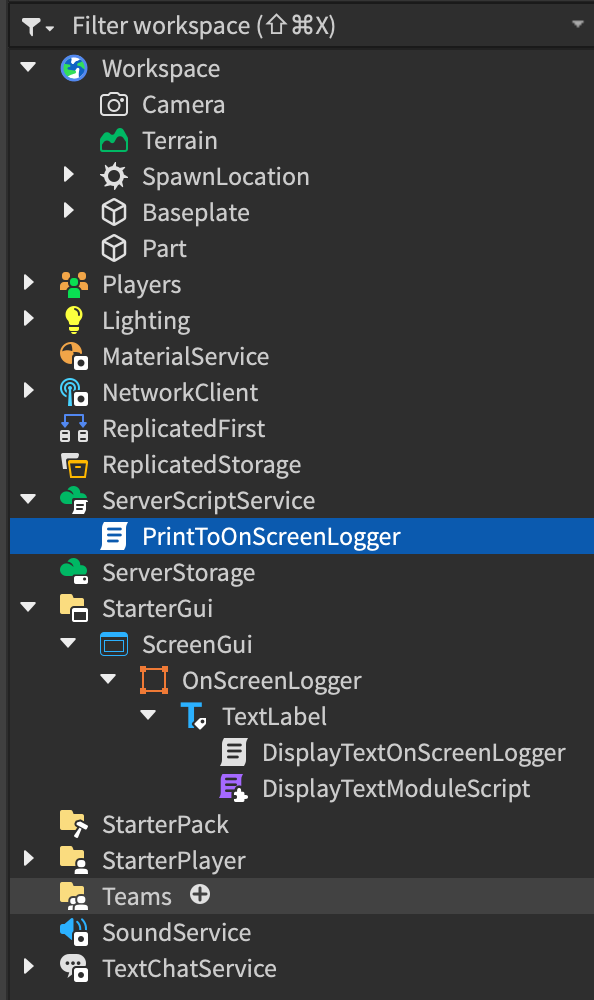
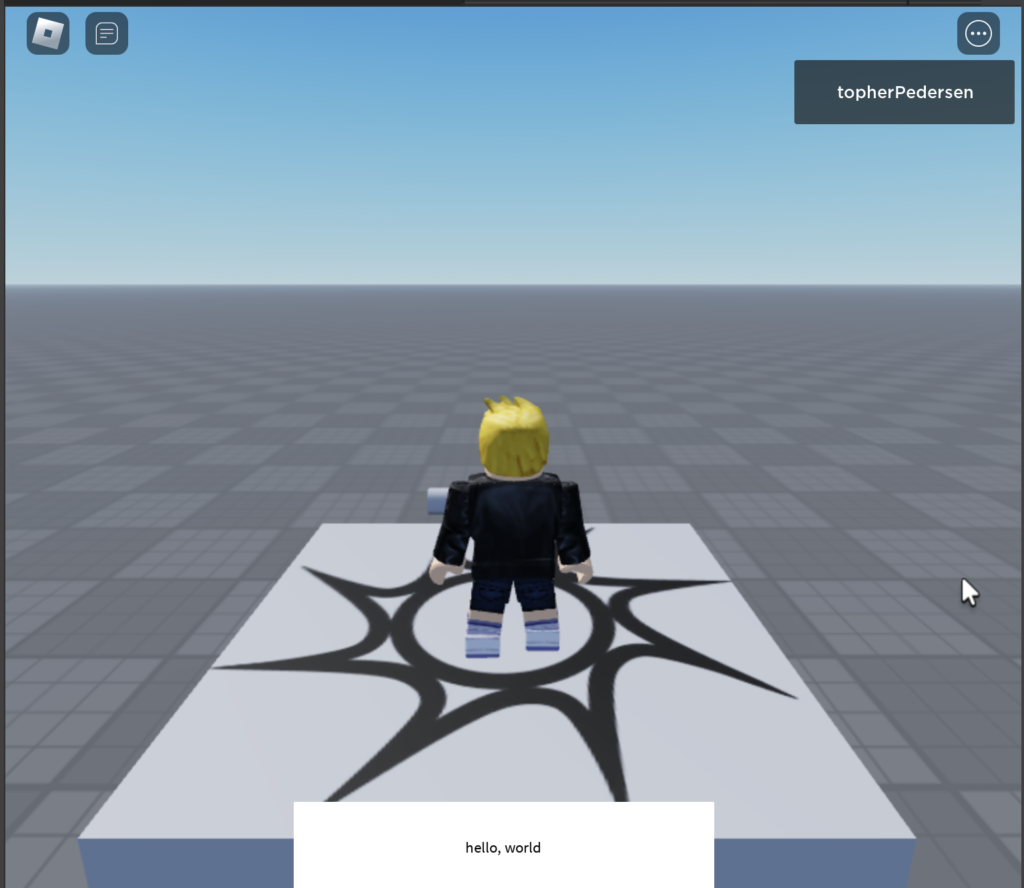
And last, there is “Introduction to Scripting.” This is the best part of the docs in my opinion for learning how to build real Roblox games that use code. I had a hard time rediscovering this section, but here’s the link: https://create.roblox.com/docs/tutorials/scripting/basic-scripting/intro-to-scripting